How to grow and care for jostaberries
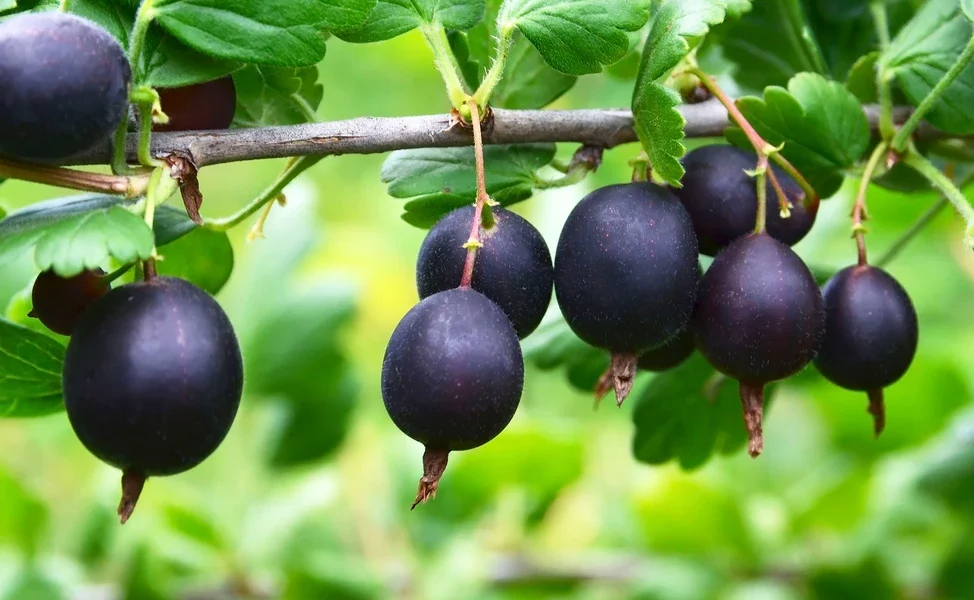
ostaberry – pronounced ‘yosta' (Ribes × nidigrolaria) – is a cross between blackcurrant and gooseberry. It forms a big, hardy, deciduous shrub that bears small purple flowers in late spring, followed by red-black berries the size of gooseberries but with a richer, sweeter flavour. While quite tart compared with other soft fruit, jostaberries are sweet enough to be eaten raw in salads, muesli and desserts, or cooked in sweet or savoury dishes. The fruit also freezes well.
How to grow jostaberry
Grow jostaberry as a free-standing shrub or train it against a wall in rich soil in a sunny place. Prune in winter, protect the flowers from late frosts and top-dress with organic matter, such as homemade compost, in spring. Harvest the flavoursome berries in mid-summer.
Where to grow jostaberry
Jostaberry is a vigorous, deciduous shrub, growing up to 2m tall and 2m wide, so choose a site where it won’t shade other fruit bushes. In a restricted space, train your jostaberry against a wall or fence. For the best yield, grow jostaberry in rich, moisture-retentive (but not water-logged) soil in full sun. Grow with other shrubs in a cottage or informal garden, with other soft fruit in a fruit cage or in a mixed border with herbaceous perennials. Even in partial shade – sun for half the day – it will produce a good crop, which means it’s a great addition to the shrub layer of a forest garden.
How to plant jostaberry
Plant jostaberry in late autumn or spring, when it is dormant, having lost all its leaves. Whether the plant is bare-rooted or container-grown, dig a hole twice the diameter of the rootball and deep enough so the soil mark at the base of the plant is about 5cm lower than the surrounding soil. Backfill the hole, firm the plant in well and water thoroughly. If planting more than one jostaberry, space them 1.5m apart with a 1.8m gap between rows. If planting in spring, top-dress with manure immediately.
How to care for jostaberry
Water your jostaberry bush in dry spells in the first season after planting, until it’s fully established. Keep the base of the plant weed free, top dress with well-rotted manure each spring and prune in winter. Small purple flowers with white centres are produced in April and May. In colder regions, use fleece to protect the flowers from late frosts.
The flowers are followed by fruit that initially look like gooseberries, which swell and darken, turning purple-black when fully ripe and reaching up to 1cm across. As the berries darken, discourage birds from taking the fruit by hanging reflective tape or old CDs in the branches, or use netting to prevent them from entering the shrub – do make sure you weigh any netting down securely to prevent hedgehogs getting caught in it.
How to prune jostaberry
Prune your jostaberry in winter, when dormant. First, cut out any dead, damaged or diseased stems. Jostaberry stems emerge from the base of the plant and flowers, and fruit is produced on the most recent year’s wood. An open framework promotes a better crop, so it’s best to reduce the number of stems by half, taking as much older wood as possible, cutting them right back to the ground. Remove any low sideshoots and prune the tips to keep the shrub to a size where it’s easy to reach the fruit. If you have the space, collect all the pruned branches and build a dead hedge, a great habitat for insects, amphibians and small mammals.
How to harvest jostaberry
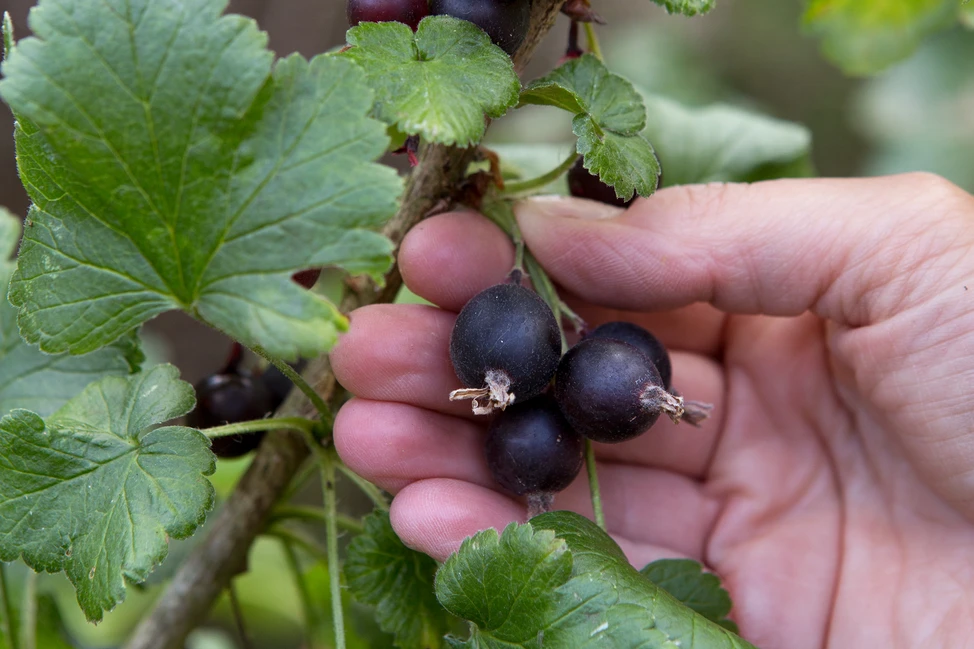
Unlike the gooseberry, jostaberry has no spines, making harvesting easier. Pick the berries individually when they are a dark reddish-black, usually in late July/early August. Eat fresh, cook or bag up and put straight into the freezer for a taste of summer all year.
How to propagate jostaberry
Like many deciduous shrubs, jostaberry is easy to propagate by taking hardwood cuttings. In the dormant season, after the plant has lost its leaves and before bud-burst, select a healthy stem that has grown in the current year and cut it into 15cm sections, with a slanting cut just above a bud at the top and a lateral cut just below a bud at the bottom. Insert the cuttings 10cm deep into the ground or a container of garden soil, allowing 10cm between them. When they start to grow leaves in spring, pot them on or dig them up and plant them in their final position.